Monday, March 28, 2011

Conservation is Key!

Intro
-Main focus
-Learning goals
Lesson
- What can you do?
Application
 -Action


Intro
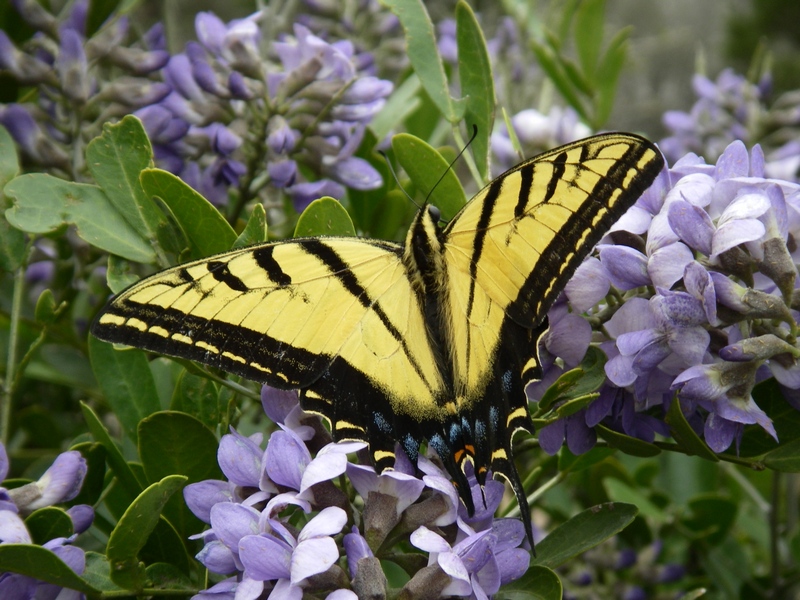
This lesson is more self-challenging to the children and you.  After all the previous lesson I think there has been one re-occurring theme, The responsibility we have to keep the place where we live in it's original state and learn from the existing organism's around us. There can never be too much emphasis on taking care of our Earth. Another idea that has brought new light to the  Environmental Science world is Bio-mimicry. It's the idea that we are organism's that are learning to adapt to our surroundings. It's the action of observing and learning from live organism's, their habits, and habitat's. It's breaking down simple life cycles or life patterns and using it to adapt to our environment. It's letting nature educate us!

This is only the beginning in our road of education to being a more Earth conscious people. If this was the only reason to have a force behind conservation, then it would be sufficient. If it were only for the education  that we could enjoy nature for; then we would be a very smart population but a popuplation in distress. There needs to be action. We need to move. Conservation is the key!

Lesson
What can you do?
-Everyone can participate in the work of restoring their neighborhood around them. Most people just don't know how easy it is. With a little education and initiative; you can make a great contribution to nature. Don't we all want our future generations to enjoy the beautiful, rich, and breath-taking world that we have?

1. Pick up Litter- With your fellow classmates and parent teachers, you can circle your neighborhood, school, religous facity, or near by park. If you really open your eyes, you will see that litter is everywhere, just pick it up!

2. Remove invasive species- Learn and find out what kind of invasive species are in your neighbord and what attracts them. You can do removal of invasive species in your yard or on campus, really; anywhere! It's something as simple as pulling weeds and moving rocks.

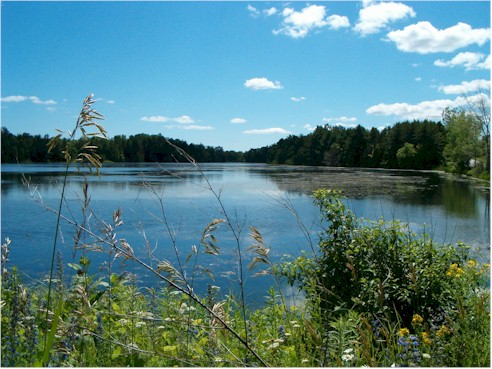
3. Replant native species- Take time to find out what native species are in your area and learn what possibilities are to enhancing and enriching natural life around you. You can create your own wetland in your backyard, giving life to many organism's around you.

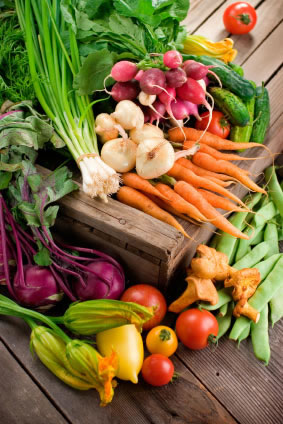
4. Plant a tree or a garden- You can never go wrong with planting a tree and keeping up on it's growth. Everyone should plant atleast one tree in their life as payment of debt to nature.One of the best ways to do that is creating your own garden to watch and tend to. You will be amazed how thing's you plant Grow on you!


Application
-ACTION!!!


Environmental Science: A Global Concern- Cunningham & Cunningham, Eleventh Edition(2010)

What do I eat?


Intro
-Main focus
Lesson
-What food is good for you?
- Food Pyramid
Application
-Creating a meal


Intro
In this lesson, we are going to have to really repeat and emphasize on the correct nutrition for the children. Kids never want to hear that something they LOVE could be possibly be bad for them, like CANDY! It's hard as a parent to get your children to try and like green foods, so, as a teacher it can be even more frustrating to communicate that sugars and candy can really do some damage to your body. So your job as the teacher is to educate, Yes educate the young children in what the correct foods to eat by going through the Food Pyramid. This will help them to see the Origins of foods and the difference between Processed and Organic foods.

Processed Foods- Is any food that is taken and prepared out it's natural state.
Organic Foods-  Is any food in it's original state.
Created Foods-   Are foods that are made in a factory like candies and junk food.

Lesson
What Food is Good for you?
Okay Kiddos, I want you all to tell me , What foods do you think are good for you? ( Let each child respond and encourage their true opinion). Well, today I want to show you something that helps us grown-ups and kids to make a balanced diet. A balanced diet is taking all the main food groups and make meals throughout the day that cover all of your nutrition needs. What I want to show you is "The Food Pyramid". The food pyramid helps us to organize all the different types of foods there are, so we know what to eat during Breakfast, Lunch, and Dinner.


There are about 6 basic different Food groups, we can classify them as:
Group 1- Bread, Cereal, Rice and Pasta
Group 2- Vegetables
Group 3- Fruits
Group 4- Meat, Poultry, Fish, Eggs and Nuts
Group 5- Milk, Yogurt and Cheese
Group 6- Fats, Oils and Sweets


JUNK FOOD

-Now Kiddos, it's not bad to eat some of these foods sometimes or on special occasions. What I want all of you to understand is that you should never eat these kinds of foods in replacement of a full meal. None of these foods can give you the nutrients that organic foods can give you.


APPLICATION


 -Take into class a stack of magazines that have the common theme of food. Let the kids cut out and paste  their favorite healthy meal. Encourage the differences in junk food and Healthy food. Have the kids present their meals when everyone is done.

See no litter, Hear no litter, Speak no litter

Intro
-Main focus
- Learning goals
Lesson
-       Questions
-       Recycling
Application
-       Bring in something from home that is recycled to be used as something else.


Intro
Approaching this lesson, we want to embrace the responsibility that we have as humans to take care of this world. We cannot learn, enjoy, or even exist if we don’t take care of mother earth. The children should be able to see the problem that litter causes and the solution that they can be. When explaining litter please be sure to emphasize that litter is anything that cannot go back into the earth after it was thrown away by a human being.
Lesson
Hey kiddos, I’m just a little curious about what you know about litter and recycling, so I have a few questions to ask you and we can work together to answer them. So here we go……..

What is litter
-Litter is misplaced garbage that people throw away in the environment.
What do you do when you see litter?
-You pick it up and take it to the nearest trash can.
How does litter hurt our world?
-Litter is made of stuff that cannot go back into the earth naturally like gum, candy wrappers, plastic bags, etc. Our litter hurts Plants, animals and  always hurts us.
Why do people litter?
-People litter because they don’t care about their environment and they think someone else will pick it up. And when they see litter, they also litter.

Recycling
-Recycling is taking something used and reusing it or broken down to make it into something new.

Three things you should remember…..

-Reduce: Use less water, turn off lights when your not using them, unplug electronics
-Reuse: Use things more than once, or use old containers for other uses.
-Recycle: Take in paper, plastic, and metals to the nearest recycling center to be broken down and made into something new.

Application
- As an exercise, choose a perfect time where you can take the class around the school to pick up litter or pick up things that can be recycled. Show them how easy it is to do and how much it helps our earth.

Monday, February 28, 2011

Continents and Oceans of the World


Intro
-Main focus and Idea
-Learning goals and Topic priorities
Lesson
7 Continents                   5 Oceans
-North America            -Pacific
-South America            -Atlantic
-Africa                          -Indian
-Asia                            -Artic
-Europe                        -Southern
-Australia
-Antarctica
Application
-Have the kids tells you where each Continent and Ocean is.

Intro
In the next lesson, we want to be able to get the kids to understand and point out physically where each continent and ocean is on a map. In this lesson you will have to focus on repetition a little more than in previous lesson because knowing the location of these places is mainly based on memory. Your goal is for the Childs to learn and locate each of the 7 Continents and 5 Oceans. By them being able to do this, you can later focus on climates and different environments around the world.

Lesson
Hey Kiddos, today we are going to learn more about our world. We are going to learn about the 7 Continents and the 5 Oceans. A Continent is a big body of land that is named to become a country, and an Ocean is the body of water that is around the Continent.
The 7 Continents are:
  1. North America- Is twice the size of Europe, Our Home, has different cultures united as one.
  2. South America- is the 4th largest continent, home of the Andes Mountains, 2nd largest mountain range.
  3. Africa- is the 2nd largest continent, home of the largest wildlife population and Sahara Desert.
  4. Asia- Is the Largest continent; it is 1/3 of the total land area in the world.
  5. Europe- is the 5th largest continent, but holds more cultural diversity than most other countries in the world.
  6. Australia- is the smallest continent; its coast is the home of “The Great Barrier Reef” and Koala bear.
  7. Antarctica- is the 6th largest continent and is the coldest, windiest and driest continent of all. It’s covered by 98% ice.
- Each continent is a country or has a lot of little countries in it.
- Each continent is the home for many different Cultures, Foods and Traditions.
- All the continents are surrounded by water.
- Most of the land mass is above the Equator (The Equator is the invisible line that divides the world in 2).
- The world is 70% water and 30% land.

The 5 main Oceans are:
  1. Pacific
  2. Atlantic
  3. Indian
  4. Artic
  5. Southern

- All the Oceans are connected to each other but are called differently because of their location.
- Each Ocean is the home of millions of fish, coral reef, and water mammals.
- The Earth is the only planet covered in water.
- The Ocean is used to transport goods from one continent to another.

Application
-Create a large blank map, with labels that have the name of the continents and Oceans. Have the kids take turns locating and placing the correct label for each location. If you do this repeatedly, the children will soon under

Habitats


Intro
-The main focus and main idea explained
-Learning goals
Lesson
-Focus on 5 different Habitats
-Desert
-Farm
-Polar
-City
-Rainforest
Application
-Finger-paint their favorite animal in their Habitat.

Intro
In this lesson we will be exploring the wide world of Habitats. In order to understand Ecology, it is imperative to understand how dear every habitat is to its animal owner. We want to emphasize in the safety, warmth comfortable, life-maintaining aspects of a habitat. The child should be able to identify at least 5 different Habitats, Desert, Farm, City, Polar and rainforest. We also want the child to be able to tell you his or her habitat and what makes it special. Always remember “Food, Shelter, Water and Space, makes a Habitat a wonderful place”.

Lesson
Kids, today we are going to talk about Habitats. Habitats are the places where different animals lives. Remember that not all animals live in the same place, so that means there are a lot of different Habitats. Today, I’m only going to show you 5 different Habitats and you are going to tell me what kind of animals live in these places.
  1. Desert- Camels, Goats, Snakes, Reptiles.
  2. Farm- Cows, Sheep, Horses.
  3. Polar- Penguins, Seal, Bears.
  4. City- Humans, Squirrels, Dogs & Cats.
  5. Rain Forest- Insects, Reptiles, Jaguar, Boar, Plants & Trees.

4 main things that make a Habitat are:
            1.Food- every animal needs to eat to survive, he should be able to find food close by. Hunted, Caught, Bought, etc.
            2.Water- Water is the most important for survival. Water is used to drink, clean, and is the Habitat for all fish.
            3. Shelter- Every animal needs a home. A place where they can find refuge, birth offspring, and safety.
            4. Space- each animal was to feels comfortable in their Habitat, and each one picks their space accordingly.

Application
-       Kids are to paint their favorite animal in their own Habitat. Each child should be able to point out details of their particular Habitat.

Tuesday, February 15, 2011

The Food Chain

Outline
*Intro
-Topic
-Focus and learning goals
*Lesson
-The Sun
-Producers
-Consumers
-Decomposers
*Application


Intro


In this lesson, we are going to focus and learn about the Food Chain. We want the children to understand that there is a common order to life. Through the Suns energy , all the way to the top animal, the children need to see the progression of the food chain.We want to them to see how organisms need other organisms to survive and their roles in the chain.


Lesson 
Hey Kiddos,  Today we are going to talk about Food Chains.  Each food chain is very important to our environment, it keeps everything under control. Every animal needs energy to live, and animals get their energy from what they eat. A food chain shows you how each animal get it's food. To understands food chains, you have to start at the Sun.

The Sun gives off energy to animals and plants, but only plants can make their own food. This is called Photosynthesis. When the plant gets his energy from the sun, it goes through this special process and that is why we call them Producers. Every plant is a producer.

The second important link in a food chain are the Consumers. Consumers eat the producers. They need to eat the producers because that's how they get their energy to survive, they can't make their own food. There are 3 kinds of Consumers:
1. Herbivores- Animals that eat only plants.
2. Carnivores- Animals that only eat animals.
3. Omnivores- Animals that eat both plants and animals, Humans are omnivores.

And, the last link of a food chain are the Decomposers. Decomposers are Bacteria and Fungi. They eat dead plants and animals and break them down to go back into the dirt. This helps put all of the good things from what died, back to grow into something new later.


Application

-Choose and pick a few students to come up in front of the classroom.  Ask each one of them what they had for dinner the night before. Then trace the chain back to the producer along with the class. This should be a more personal way for them to see the line of a food chain.


Monday, February 7, 2011

What is Science?

Outline
Intro
-Idea or subject matter
-Goal and focus
Lesson
-Written explanation for the children
Application
-Crafts, activities

INTRO
     When teaching children about Environmental Science, you Must give the a basis of what science is. The best way to explain it to the children is to emphasis on what the word Science means and break that down for them. You will be opening their eyes to the world of Science. Your goal is for the student to understand the majority or the main entities of what Science involves. Through Observation, Data, Experimentation, and Recording, the natural world and us are a lot more closer and the children need to be closer to fully understand their impact in our world through Science. This is their introduction to our REAL world.

LESSON
     Good Morning kids! Does anyone know what science is? (Wait for response) Well, I'm going to tell you that Science is: Looking and Learning about anything Natural and writing down what you learned for others to see.  Something Natural, is something that Us (man) did not make.
     We use Science to answer questions about the World, Space, and us! When we want to know and learn about something natural, all the work we do to find the answer is called Science. It's taking steps looking and learning until you find out what you wanted to know. Something that helps us take those  steps is the Scientific Method.

The Scientific Method can be simplified like this:
1. Ask a Question.
2. Think and Find out something about it.
3. Make a good guess about what you think the answer might be.
4. Test your guess. Find different ways of testing your idea.
5. Take everything you found out and put it all together to get the best answer.
6. Then share your new Knowledge with others. Were you right about your guess?

 The work we do to find the answers is called Research, Test and Experiments. It is very important to write down everything you see when your doing a test or Experiment.  Sometimes we have to do a test more than once.  We often do many test to make sure we get the right answers. If your end results answer your question or tell you what you wanted to know, then your Science project is done!

APPLICATION
Classroom Activity- Learning to run Scientific Test with their Senses
- Take different Natural fruits to each table and ask them to describe what they See, Smell, Feel, Hear, and lastly Taste. Have the kids record their data with Drawings, Numbers, Colors and words if possible.

-What does it look like? What color? What kinda shape does it have?
-How does it feel like? Rough? Smooth? Bumpy?
-How does it smell? Fresh or stinky?
-Does it make any sounds? Seeds inside?
-What does it taste like? Is it sweet or salty?

Get the kids to verbally express their findings and ideas.


Give the kids worksheets that help them identify what is Natural and what is not. Also keep conversation up by pointing to different objects in the classroom and having them tell you if it is Natural or Not (Like a pencil, fish, carpet, toy, plant, etc).